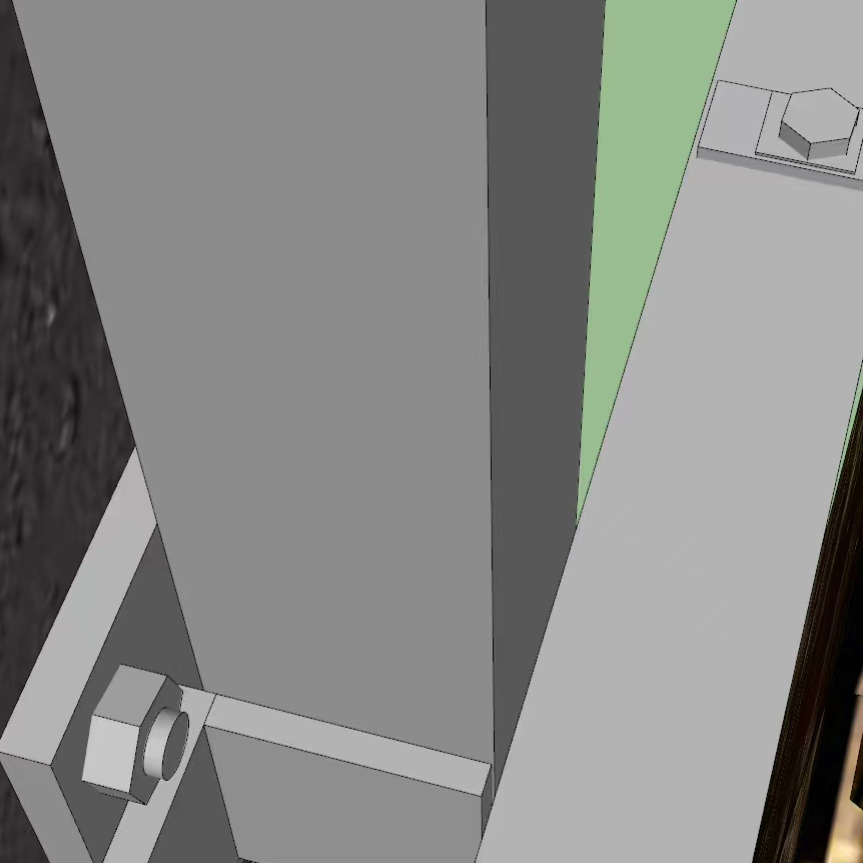
Detailed Steps of Dry-Hanging Ceramic Tiles on Exterior Walls
Jan 07, 2025
Preparation for Construction
Material Preparation: According to the design requirements, prepare ceramic tiles, stainless steel hangers, expansion bolts, structural adhesives, sealants and other materials that meet the quality standards.

Tool Preparation: Prepare construction tools such as electric drills, impact drills, wrenches, screwdrivers, cutting machines, levels, and straightedges.
Base Course Treatment: Clean the base wall surface, remove dust, oil, loose concrete and other impurities to ensure the wall is flat and clean. Repair and level the uneven wall, fill the depressions with cement mortar and grind the protruding parts.
Measurement and Setting Out
Measurement: Use a level and a measuring tape to measure the wall to determine the horizontality and verticality of the exterior wall and find the reference line.
Marking Out: According to the size of the ceramic tiles and the layout design, mark out the dividing lines and the installation positions of the hangers on the wall to ensure the positions of the hangers are accurate and guarantee the flatness and verticality of the ceramic tile installation.
Installation of Hangers
Drilling: Drill holes in the base wall surface according to the marked positions. The depth and diameter of the holes should meet the installation requirements of the expansion bolts.
Installation of Bolts: Insert the expansion bolts into the holes and tighten them with a wrench to firmly fix the bolts on the wall.
Installation of Hangers: Install the stainless steel hangers on the expansion bolts, adjust the position and angle of the hangers to meet the requirements of ceramic tile installation, and then tighten the fixing screws of the hangers.
Cutting and Treatment of Ceramic Tiles
Cutting: According to the wall division and design requirements, use a cutting machine to cut the ceramic tiles. The cutting size should be accurate, and the edges should be smooth without chipped corners or other defects.
Grooving: On the side or back of the ceramic tile, use a special grooving machine to cut grooves matching the hangers. The depth and width of the grooves should meet the design requirements to ensure the hangers can be closely connected to the ceramic tile.
Installation of Ceramic Tiles
Applying Adhesive: Uniformly apply an appropriate amount of structural adhesive in the grooves of the ceramic tile and on the contact surface of the hanger, ensuring the adhesive is fully applied without bubbles or omissions.
Hanging Tiles: Align the ceramic tile with the hanger and slowly hang it on the hanger, making the hanger fit into the groove of the ceramic tile. Then gently adjust the position of the ceramic tile to make the gap between adjacent ceramic tiles uniform.
Fixing: Use temporary fixing tools such as wooden wedges or clamps to temporarily fix the ceramic tile on the wall to prevent it from moving before the adhesive cures.
Gap Treatment
Cleaning: After the ceramic tile installation is completed, use a special cleaner to clean the dust, debris and excess adhesive in the ceramic tile surface and gaps to ensure the gaps are clean and tidy.
Sealing: According the design requirements, choose a suitable color of sealant for sealing. Load the sealant into a glue gun and evenly inject it into the gap. The sealing depth should meet the design requirements, generally 1/3 - 1/2 of the gap width.
Trimming: Use a special tool to trim the sealing adhesive to make its surface smooth and flat, flush with the ceramic tile surface, and remove the excess sealing adhesive at the same time.

Inspection and Acceptance
Appearance Inspection: Check whether the ceramic tile surface is flat, clean, without color difference, chipped corners, cracks and other defects, and whether the arrangement of the ceramic tiles is neat and the gaps are uniform.
Flatness Inspection: Use a straightedge and a feeler gauge to check the flatness of the ceramic tile wall. The error should meet the relevant code requirements.
Verticality Inspection: Use a theodolite or a plumb bob to check the verticality of the ceramic tile wall to ensure the wall is vertical.
Connection Inspection between Hangers and Ceramic Tiles: Check whether the connection between the hangers and the ceramic tiles is firm, without loosening or deformation.

